An Introduction to Air Layering for Indoor Trees
Learn the advanced propagation method of air layering. Our visual guide shows you how to fix a leggy Fiddle Leaf Fig or Rubber Plant by growing new roots on the stem before you cut.
Propagation Path: Root woody stems before cutting.
🪴 In This Guide 🪴
🌳 Best Plants for Air Layering
This method is designed for plants with thicker, woodier, single stems that are difficult or slow to root from a simple cutting. It's the perfect solution for rejuvenating top-heavy plants.
Top Candidates for This Project
- Ficus lyrata (Fiddle Leaf Fig): The number one reason most people learn to air layer.
- Ficus elastica (Rubber Plant): Works beautifully on all varieties, from Tineke to Burgundy.
- Ficus Alii: A great candidate when an older plant has a long bare trunk and you want a shorter, fuller top.
- Monstera deliciosa: Ideal for older, vining Monsteras that have developed long, leafless sections.
- Dracaena: Corn Plants, Dragon Trees, and others in the Dracaena family are great candidates.
- Schefflera (Umbrella Plant): Can be used to create a bushier plant from a tall, single stem.
- Dieffenbachia (Dumb Cane): Another plant that tends to get leggy over time and benefits from this method.

🛠️ How to Air Layer in 7 Steps
Before you start, gather your tools: a very sharp, sterile craft knife; rooting hormone; a few handfuls of sphagnum moss (pre-soaked in water and then squeezed out); clear plastic wrap; and some twine or electrical tape.
Step 1: Choose Your Spot
Decide where you want the new root system to be. This will be the base of your new, shorter plant. Pick a spot on the main stem a few inches below the lowest leaf you want to keep on your new top section.
Step 2: Make the Wound
This is what triggers the rooting process. Using your sterile knife, carefully make a shallow, upward-slanting cut about one-third of the way through the stem. The cut should be about an inch long. You can stick a small piece of a toothpick into the cut to keep it open. This "wound" is where the plant will focus its energy to create new roots.

Step 3: Apply Rooting Hormone
Use a small brush or a cotton swab to apply a generous amount of rooting hormone powder directly into the cut you just made. This step is highly recommended for air layering as it dramatically speeds up the process and encourages robust root growth.
Step 4: Wrap in Sphagnum Moss
Take a generous handful of your pre-moistened sphagnum moss and pack it firmly all the way around the wounded section of the stem. You want to create a ball of moss about the size of a tennis ball or a large apple.

Step 5: Seal with Plastic Wrap
Wrap your ball of moss tightly with a piece of clear plastic wrap. This is what keeps the moisture locked in. Secure the top and bottom of the plastic wrap snugly against the stem using twine or electrical tape to make it as airtight as possible.

Step 6: Be Patient and Watch for Roots
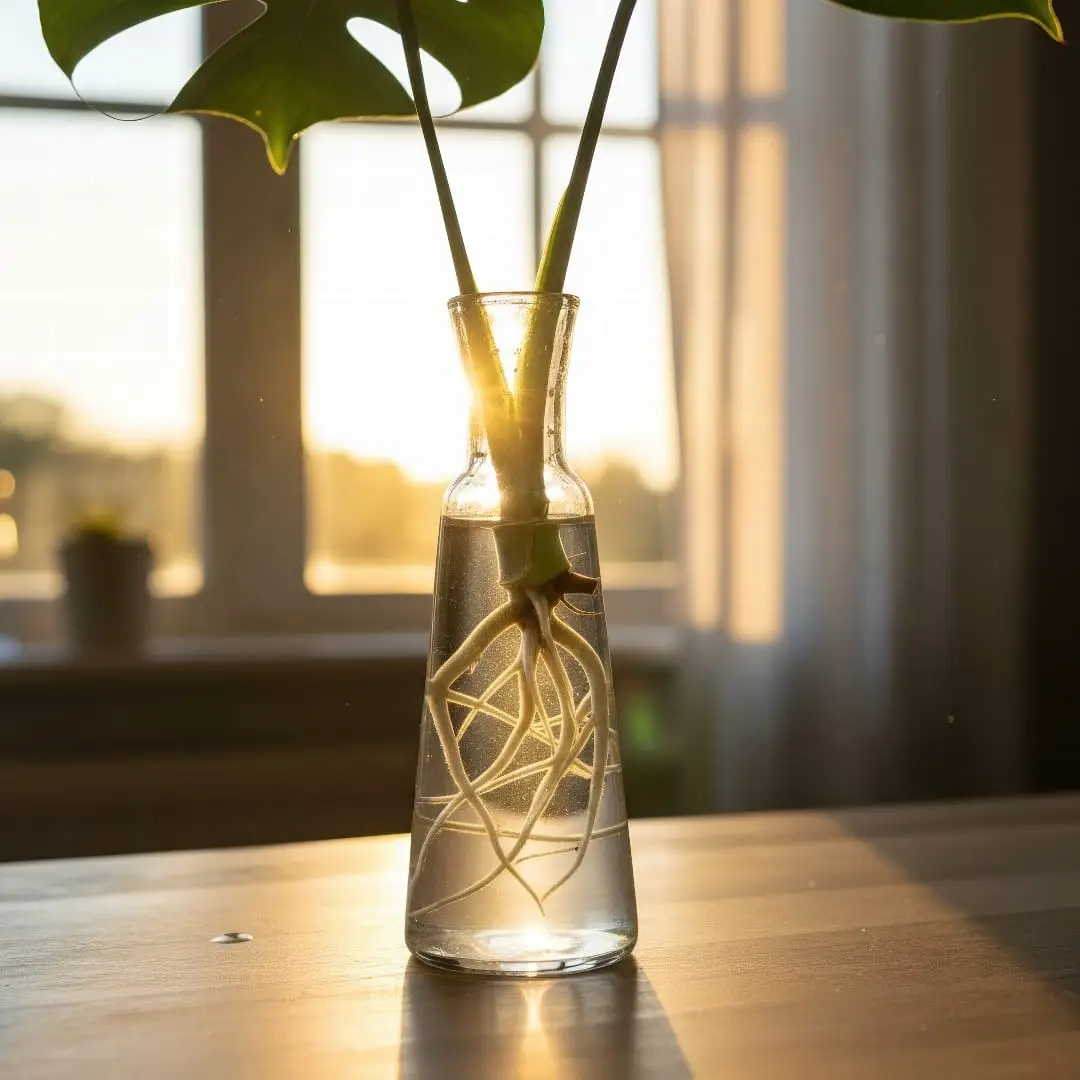
Place the plant back in its normal spot and care for it as you usually would. After several weeks to a few months, you will start to see healthy, white roots growing through the moss and pressing against the clear plastic. This is your sign of success!
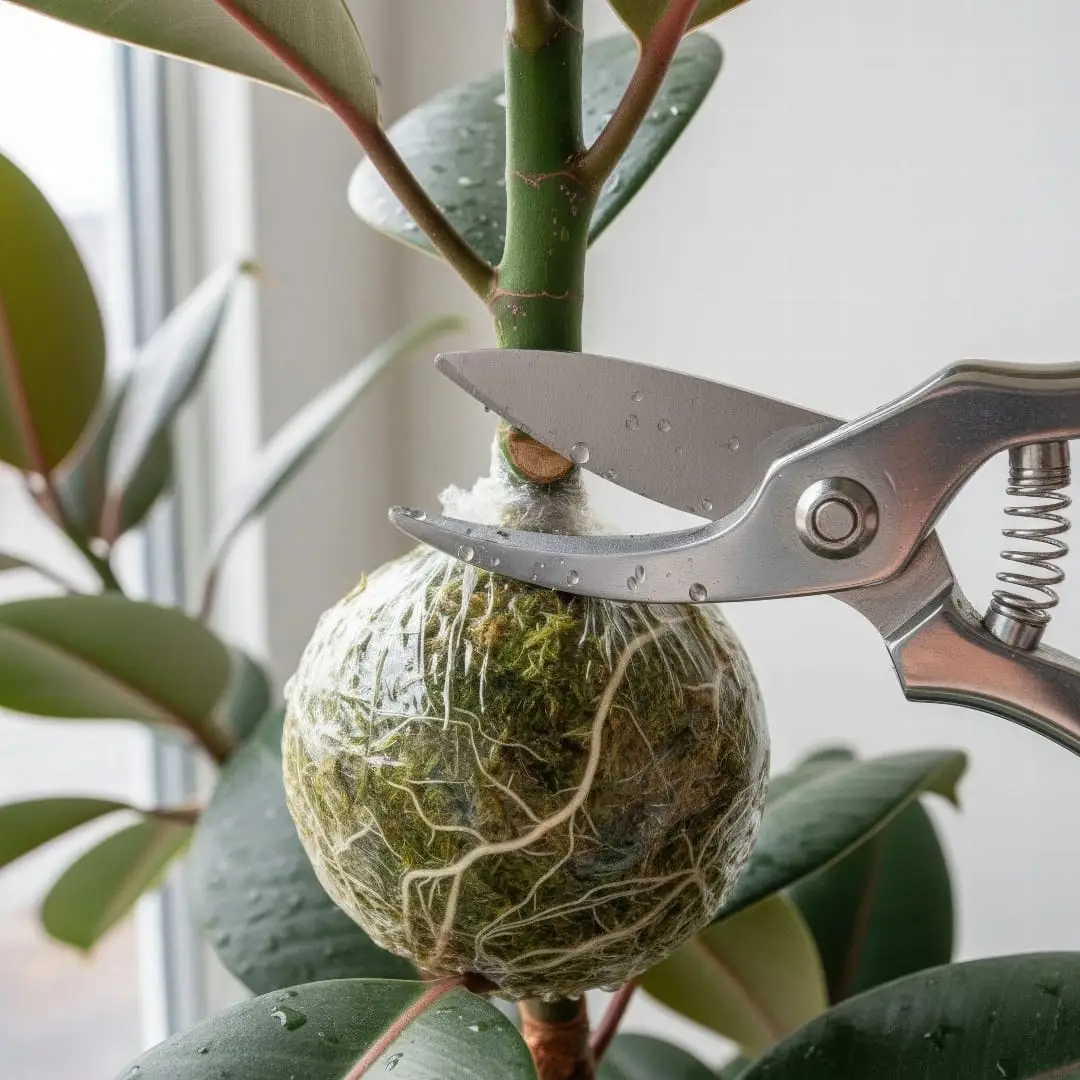
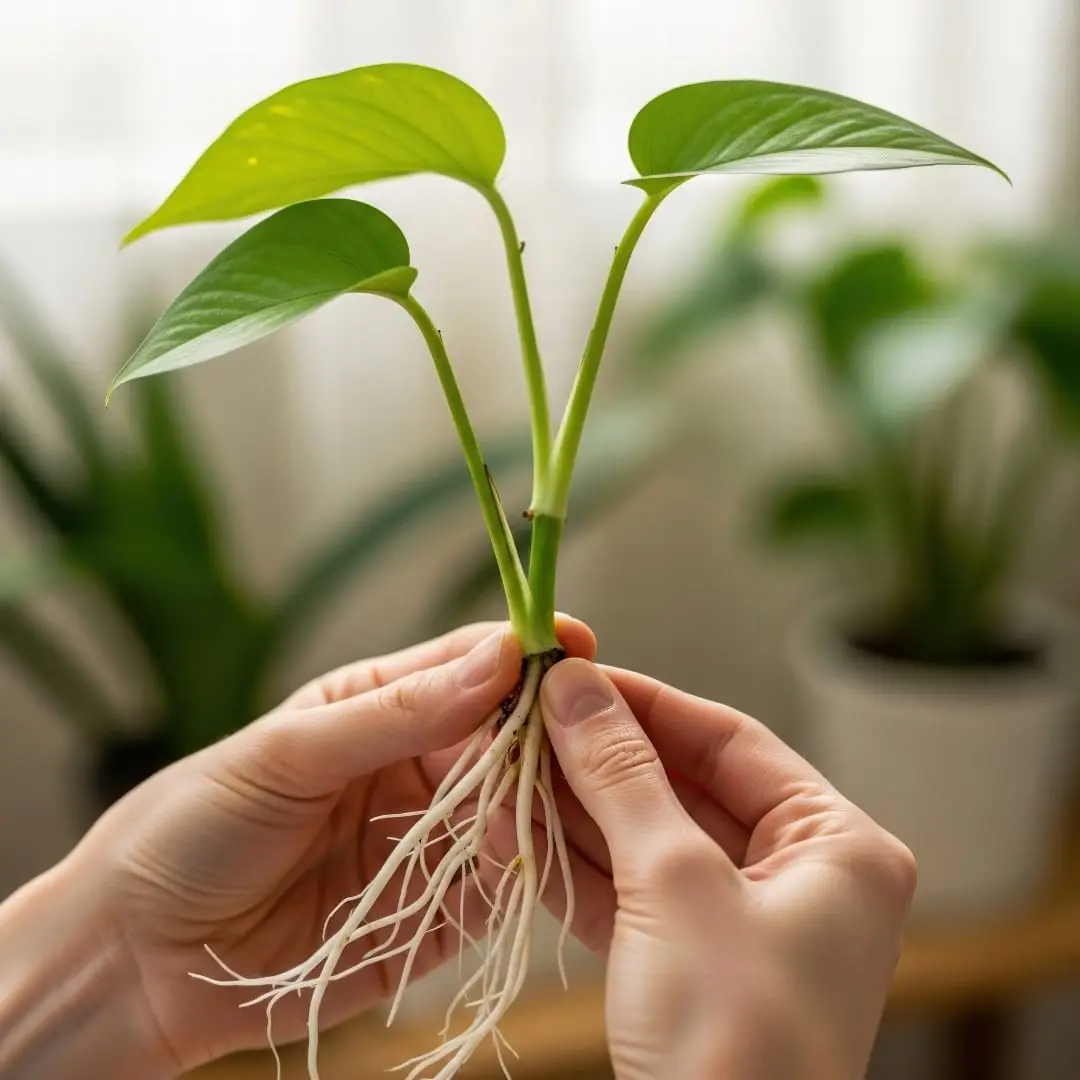
Step 7: Sever and Pot Your New Plant
Once the moss ball is filled with a dense network of roots, it's time for graduation. Using a sharp pair of pruners or a saw, make the final cut through the stem just below your new root ball. Carefully remove the plastic wrap, but leave the sphagnum moss intact-the roots have grown through it. Pot your new, shorter plant into an appropriately sized pot with fresh soil.

💬 Community
Start the first discussion.
Ask about An Introduction to Air Layering for Indoor Trees
Ask a question or share what worked for you.
Log in to post.
Logged in as Member.
Log in to post your comment
Your draft stays here. Choose a sign-in method below.
Use Google or email. Your draft stays on this page.
🪴 See also 🪴
How to Propagate Succulents from Leaves & Offsets
How to Propagate Plants Directly in Soil: A Beginner's Guide
The Complete Guide to Dividing Houseplants: Refresh and Multiply
A Step-by-Step Guide to Propagating Plants in Water
The Ultimate Guide to Houseplant Propagation: Create New Plants for Free!
How to Use a Moisture Meter (and Never Overwater Again)

How to Repot a Houseplant Without Killing It (Step-by-Step Guide)
Houseplant Light Guide: How to Find the Perfect Spot for Your Plant
How to Water Houseplants: The Ultimate Beginner's Guide
Choosing the Right Potting Mix: A Beginner's Soil Guide
How to Fertilize Houseplants: A Simple Guide for Beginners
The Essential Houseplant Care Checklist & Routine